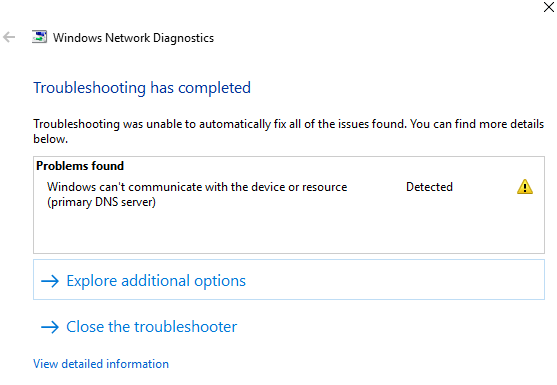
The Windows Can’t Communicate With the Device or Resource is a very basic and common error that occurs when the system is unable to connect to the internet through the default settings of the system. This error causes the DNS system to malfunction and this in turn leads to network problems.
So, basically, DNS or the Domain Name System allows users to access information available on the internet by routing through IP addresses. This particular error can be fixed using multiple methods. There is no specific solution. Try out these fixes described in this guide and figure out the one that works the best.
Contents
How to Fix Windows Can’t Communicate With the Device or Resource in Windows 10
Method #1 OBTAIN THE DNS SERVER ADDRESS AND IP ADDRESS AUTOMATICALLY
As we know, DNS is literally the phonebook of the internet containing all the IP address names for sites. The browser will use the address provided by the DNS to retrieve information from the internet.
This is where a DNS server comes into play. The server will enable these web browsers to directly interact with the server to gather the information.
Read Also:
Sometimes, if this DNS server is blocked then the browser will not be able to retrieve information from the internet and hence the error will occur. This is why we should try to obtain the DNS server address automatically, to fix this problem. The pros of changing the DNS address and obtaining the IP address automatically are as follows:
- Speed (Faster loading and better connection)
- Site availability
- DNS blocking will be unlocked.
To obtain DNS server address and IP address, follow the steps given below:
- Press the Windows Key + X to bring up the Quick Access Menu.
- Then click on the “Network Connections” option.
- On the left side panel of the window screen, choose “Status”.
- Click on “Change Adapter Options” under the Change Your Network Settings.
- The list of internet connections will show up on a different window that’ll pop-up.
- Right-click on the Internet Connection being used.
- Click on “Properties” now.
- Click on the “Internet Protocol Version 4 (TCP/IPv4)” and click on Properties below it again.
- Change the options under the General tab by allowing the,
- Obtain and IP address automaticallyand
- Obtain DNS server address automatically.
- Click on OK to finalize the changes.
- Restart the computer.
This will automatically obtain the DNS server address and IP address and fix the problem.
Method #2 CHANGE THE DNS TO GOOGLE’S PUBLIC DNS
Google’s Public DNS service is largely recommended by experts as this particular DNS address is very fast and provides low latency browsing. This DNS address is very secure too.
To change DNS server address to Google’s public DNS, follow the steps given below:
- Press the Windows Key + X to bring up the Quick Access Menu.
- Then click on the “Network Connections” option.
- On the left side panel of the window screen, choose “Status”.
- Click on “Change Adapter Options” under the Change Your Network Settings.
- The list of internet connections will show up on a different window that’ll pop-up.
- Right-click on the Internet Connection being used.
- Click on “Properties” now.
- Check the box beside the “Internet Protocol Version 4 (TCP/IPv4)” and click on Properties below it again.
- Check on the “Use the following DNS server addresses” and then enter these digits for Preferred DNS Server : 8.8.8.8
- Click on OK and restart the system once.
This will change the DNS server address to Google’s public DNS quickly and change your experience altogether for the better.
Method #3 CLEAR DNS CACHE
Clearing the DNS cache is the manual renewing of all the cache data by making the older data invalid so that the system fetches the latest information to reset the DNS’s local cache. It will also subsequently clean up the memory of the system and speed up the computer and improve overall performance.
To flush DNS cache, follow the steps given below:
- Go to the Start menu and search for “cmd”.
- Run it as an administrator.
- Type the following ipconfig /flushdns and press Enter to execute it.
- This will flush the DNS cache that had been stored in the system memory.
- Restart the system to get the best results.
After completing these steps, the internet connection will be much faster than before and browsers will load quickly too.
Method #4 MODIFY THE HOSTS FILE
When browsing on the internet, the websites will connect to the domain servers through IP addresses which are nothing but converted domain names. Sometimes, this process slows down the internet connection and leads to the error of “Windows can’t communicate with the device or resource”.
To fix this, the users should modify some particular hosts files.
Modifying hosts file is the best way to solve connectivity issues caused due to bad DNS. Modifying the hosts file will force the system to directly connect to the IP address provided by the user.
This particular method will drastically improve the internet connection speed. To do this, follow the steps given below:
- Go to the Start Menu and search for “Run”.
- Open it and search for
C:\Windows\System32\drivers\etc
And click on Run.
- Locate the Hosts file on the Windows screen that pops up.
- Open the file using Notepad.
- Delete everything that the file contains.
- Save the file using the shortcut: CTRL + S.
- Restart the system if possible.
This fix is very likely to work and solve the error once and for all.
Read Also:
- Res://aaResources.dll/104
- Your Windows License Will Expire Soon
- Error Loading Player: No Playable Sources Found
Conclusion
The “Windows can’t communicate with the device or resource “error is caused due to DNS network and connectivity issues; so it is rather easy to fix. The solutions given above are perfect for the job as long as the problem with the software such as the web browser. If the error is caused by any physical damage to the hardware components, it is recommended to get it repaired by professional technicians.