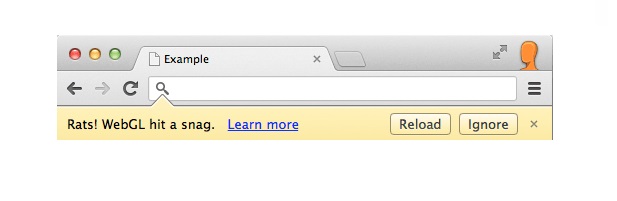
Rats! WebGL Hit A Snag error may sound absurd for a layman Google Chrome user. Web Graphics Library (WebGL) is a JavaScript API. It’s used for rendering interactive 2D and 3D graphics inside any Google Chrome without using plug-ins.
WebGL is integrated into all the web standards of the browser. This, in turn, allows GPU accelerated usage of physics and image processing as a part of the web page canvas.
Contents
4 Ways to Fix Rats! WebGL Hit A Snag Error in Google Chrome
Some of the most effective ways to fix Rats! WebGL Hit A Snag is described below. Go through the guide with an alert mind. Let’s Get started!
Read Also:
Method #1 Clear Cache and Cookies from Google Chrome
It has been noticed that clearing caches and cookies from Chrome is a comprehensive solution to this problem. Follow the below steps to clear browsing data:
Step 1: Firstly, press Ctrl + Shift + Del. Or go to “Clear Browsing Data” from settings.
Step 2: If you want to completely get rid of all your saved passwords and every other personalized setting, check all the boxes. Or check only the cookies and caches checkbox while selecting the “The beginning of time” option.
Step 3: Then choose the “Clear Browsing Data” option.
Step 4: Next, restart your PC. Then set up the internet connection again by switching the Wi-Fi off and on. Or remove and insert the DSL internet cable.
Step 5: Finally, check whether everything is restored to default. And if not, clear the cookies again and follow the same steps again.
Method #2 Disable WebGL in Chrome Settings
There is an obvious solution to disabling WebGL from your Google Chrome browser. Some of the websites which use WebGL might load slowly. This is because WebGL uses the PC’s graphic processing power to load their websites faster. Although, on the whole, the process becomes slow but is acceptable compared to the previous experience.
Step 1: First of all, type “chrome://flags” and press Enter.
Step 2: Next, navigate towards the WebGL option or search for the same in the search bar located at the top of the flags.
Step 3: Finally, click on “Disable” to make sure that you don’t mess other settings.
Method #3 Turn Off Hardware Acceleration
Hardware acceleration is the fancy term used when some of the tasks are assigned to the GPU instead of the CPU. Google Chrome uses hardware acceleration to smoothen processes like streaming videos, and much more. Disabling hardware acceleration is one of the top solutions because it simply works, and it’s no coincidence.
Step 1: Firstly, open Chrome Settings by clicking on the menu icon on the top right corner.
Step 2: Secondly, click on the Settings button from the drop-down menu. Next, navigate towards the end and open the “Advanced” type.
Step 3: After that, find the “Setting” option amongst the list. Then, uncheck the “Use hardware acceleration when available” option.
Step 4: Once unchecked, a new “Relaunch” button will appear. Click on it to reset the browser and launch after the changes are complete.
Step 5: If already unchecked, try enabling it and see if that is a viable solution or not.
Method #4 Update Your GPU Driver
WebGL is heavily dependent on your PC’s GPU processing power. This is to efficiently load a number of photos, videos, and the website as a whole. However, it is important to keep your drivers updated. To render certain visual elements of the sites, which in turn relies on the graphics driver. To update your GPU driver to its latest build, follow these steps:
Step 1: First of all, use Windows + S. Then type “Run.”
Step 2: After that, select the Run application. A dialogue appears.
Step 3: Then, type “devmgmt.msc” in the Run dialog box. And select the OK button to open Device Manager Window.
Step 4: Now, check for the graphics card driver under the “Display Adapters” option. Next, click on the arrow to the left to view all the drivers.
Step 5: Now, right-click on the adapter of your integrated graphics card. Then selects the Update driver option from the drop-down menu. If you use an external Graphic Card, update it to its latest version from their website.
Step 6: Finally, click on the Search automatically for the updated driver software. Windows automatically searches and updates the driver on its own.
Step 7: Restart your PC to implement the changes.
Also Read:
- Device Descriptor Request Failed
- Update Error Code 0x80070643
- SppExtComObjPatcher.exe
- Steam Download Stopping
Conclusion
Fixing Rats! WebGL Hit A Snag error is of the utmost importance. If you want your system to run all the web pages smoothly on web browsers. Time is a precious commodity today, and WebGL helps us save a lot of it while using browsers. Getting rid of WebGL Hit A Snagerror will save you a lot of time and help you complete your work as soon as possible. Thank You For Reading!